Getting started
From raw render to photorealistic visual – three steps, under a minute.
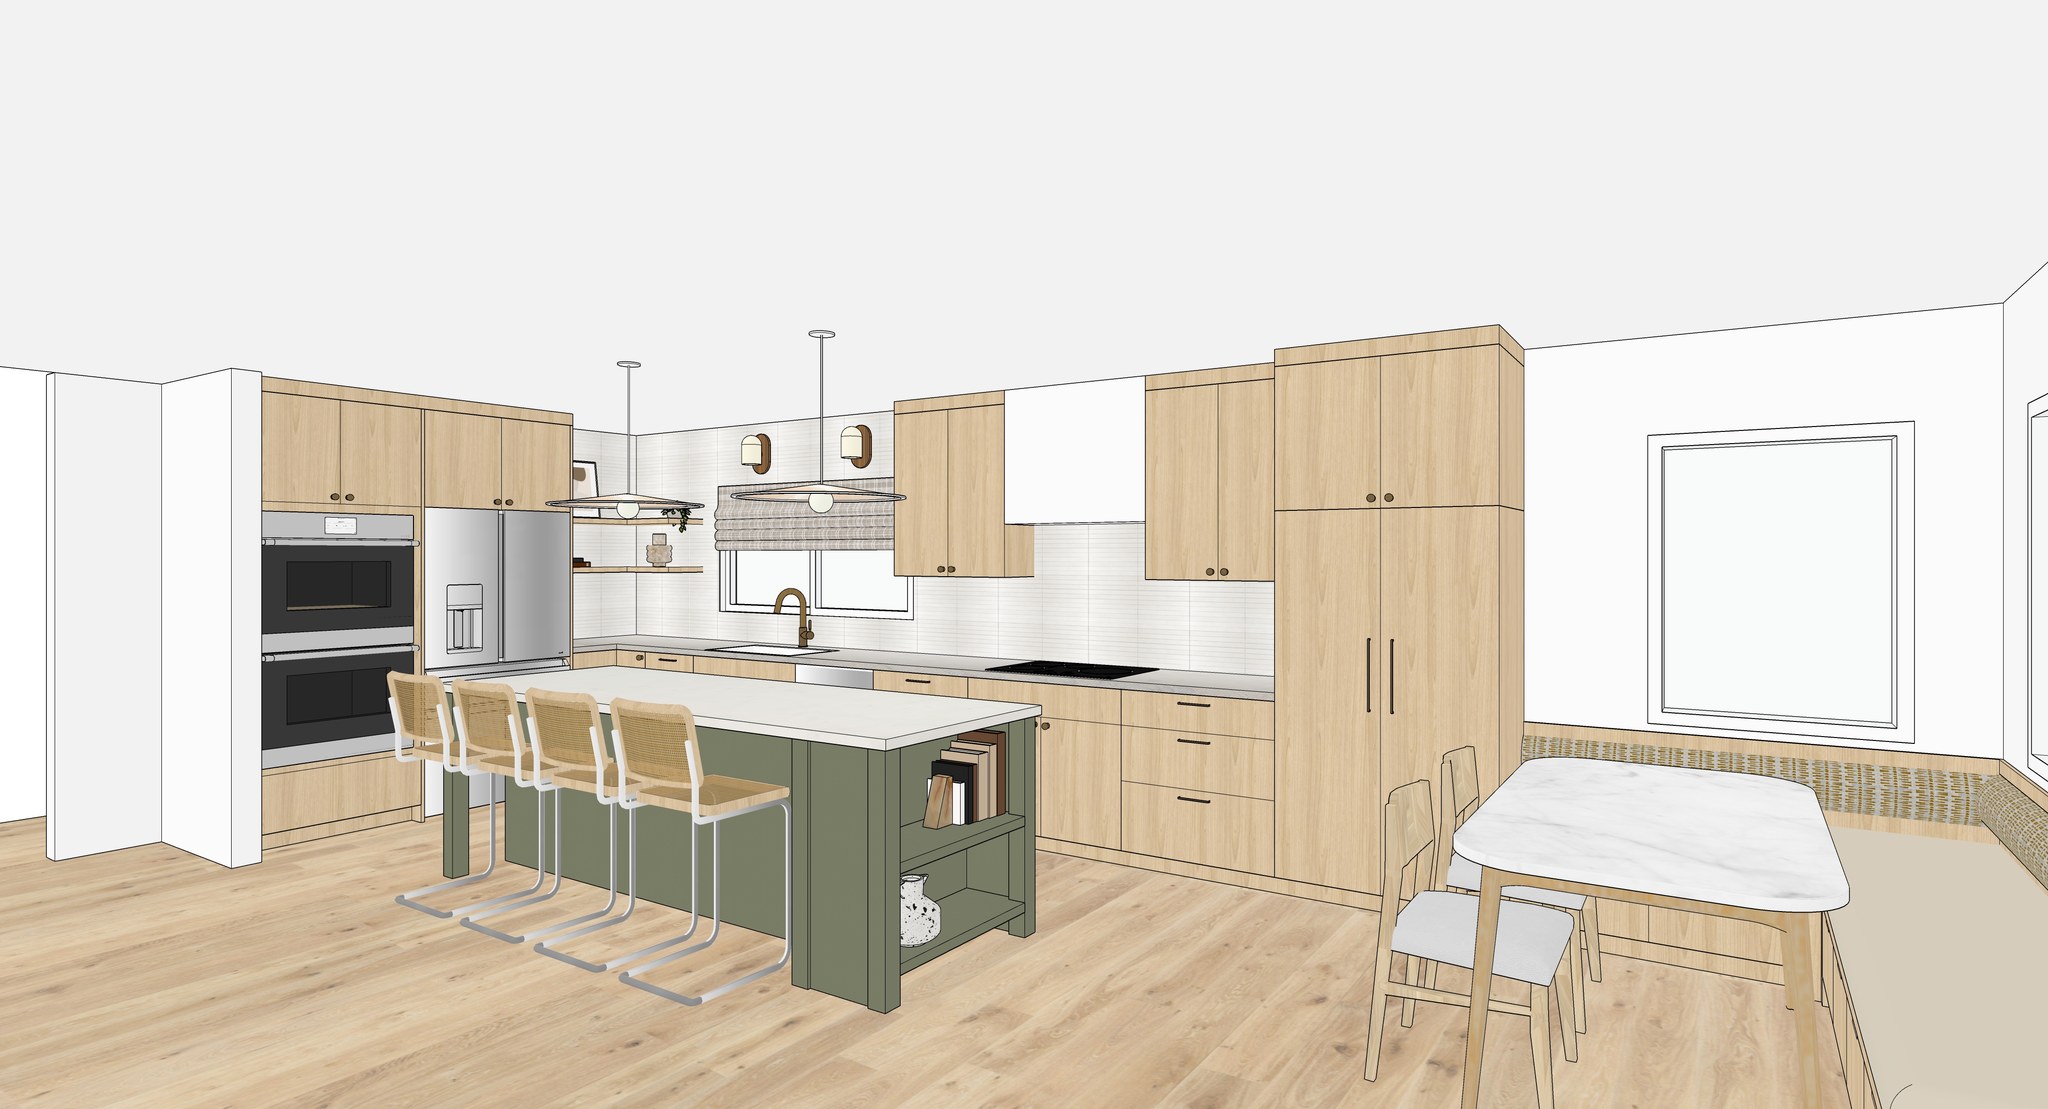
Upload your render
Drop in a SketchUp or Revit render – PNG or JPEG.
Configure your settings
Lighting
Sunny, Overcast, Night, All lights on/off – or describe your own
Reference images
Up to 3 photos to guide materials, textures, or style
Quality tier
Balance quality and speed – from quick previews to client-ready 4K
Edit description
"Add warm wooden floors" or "make the walls white brick"
Generate
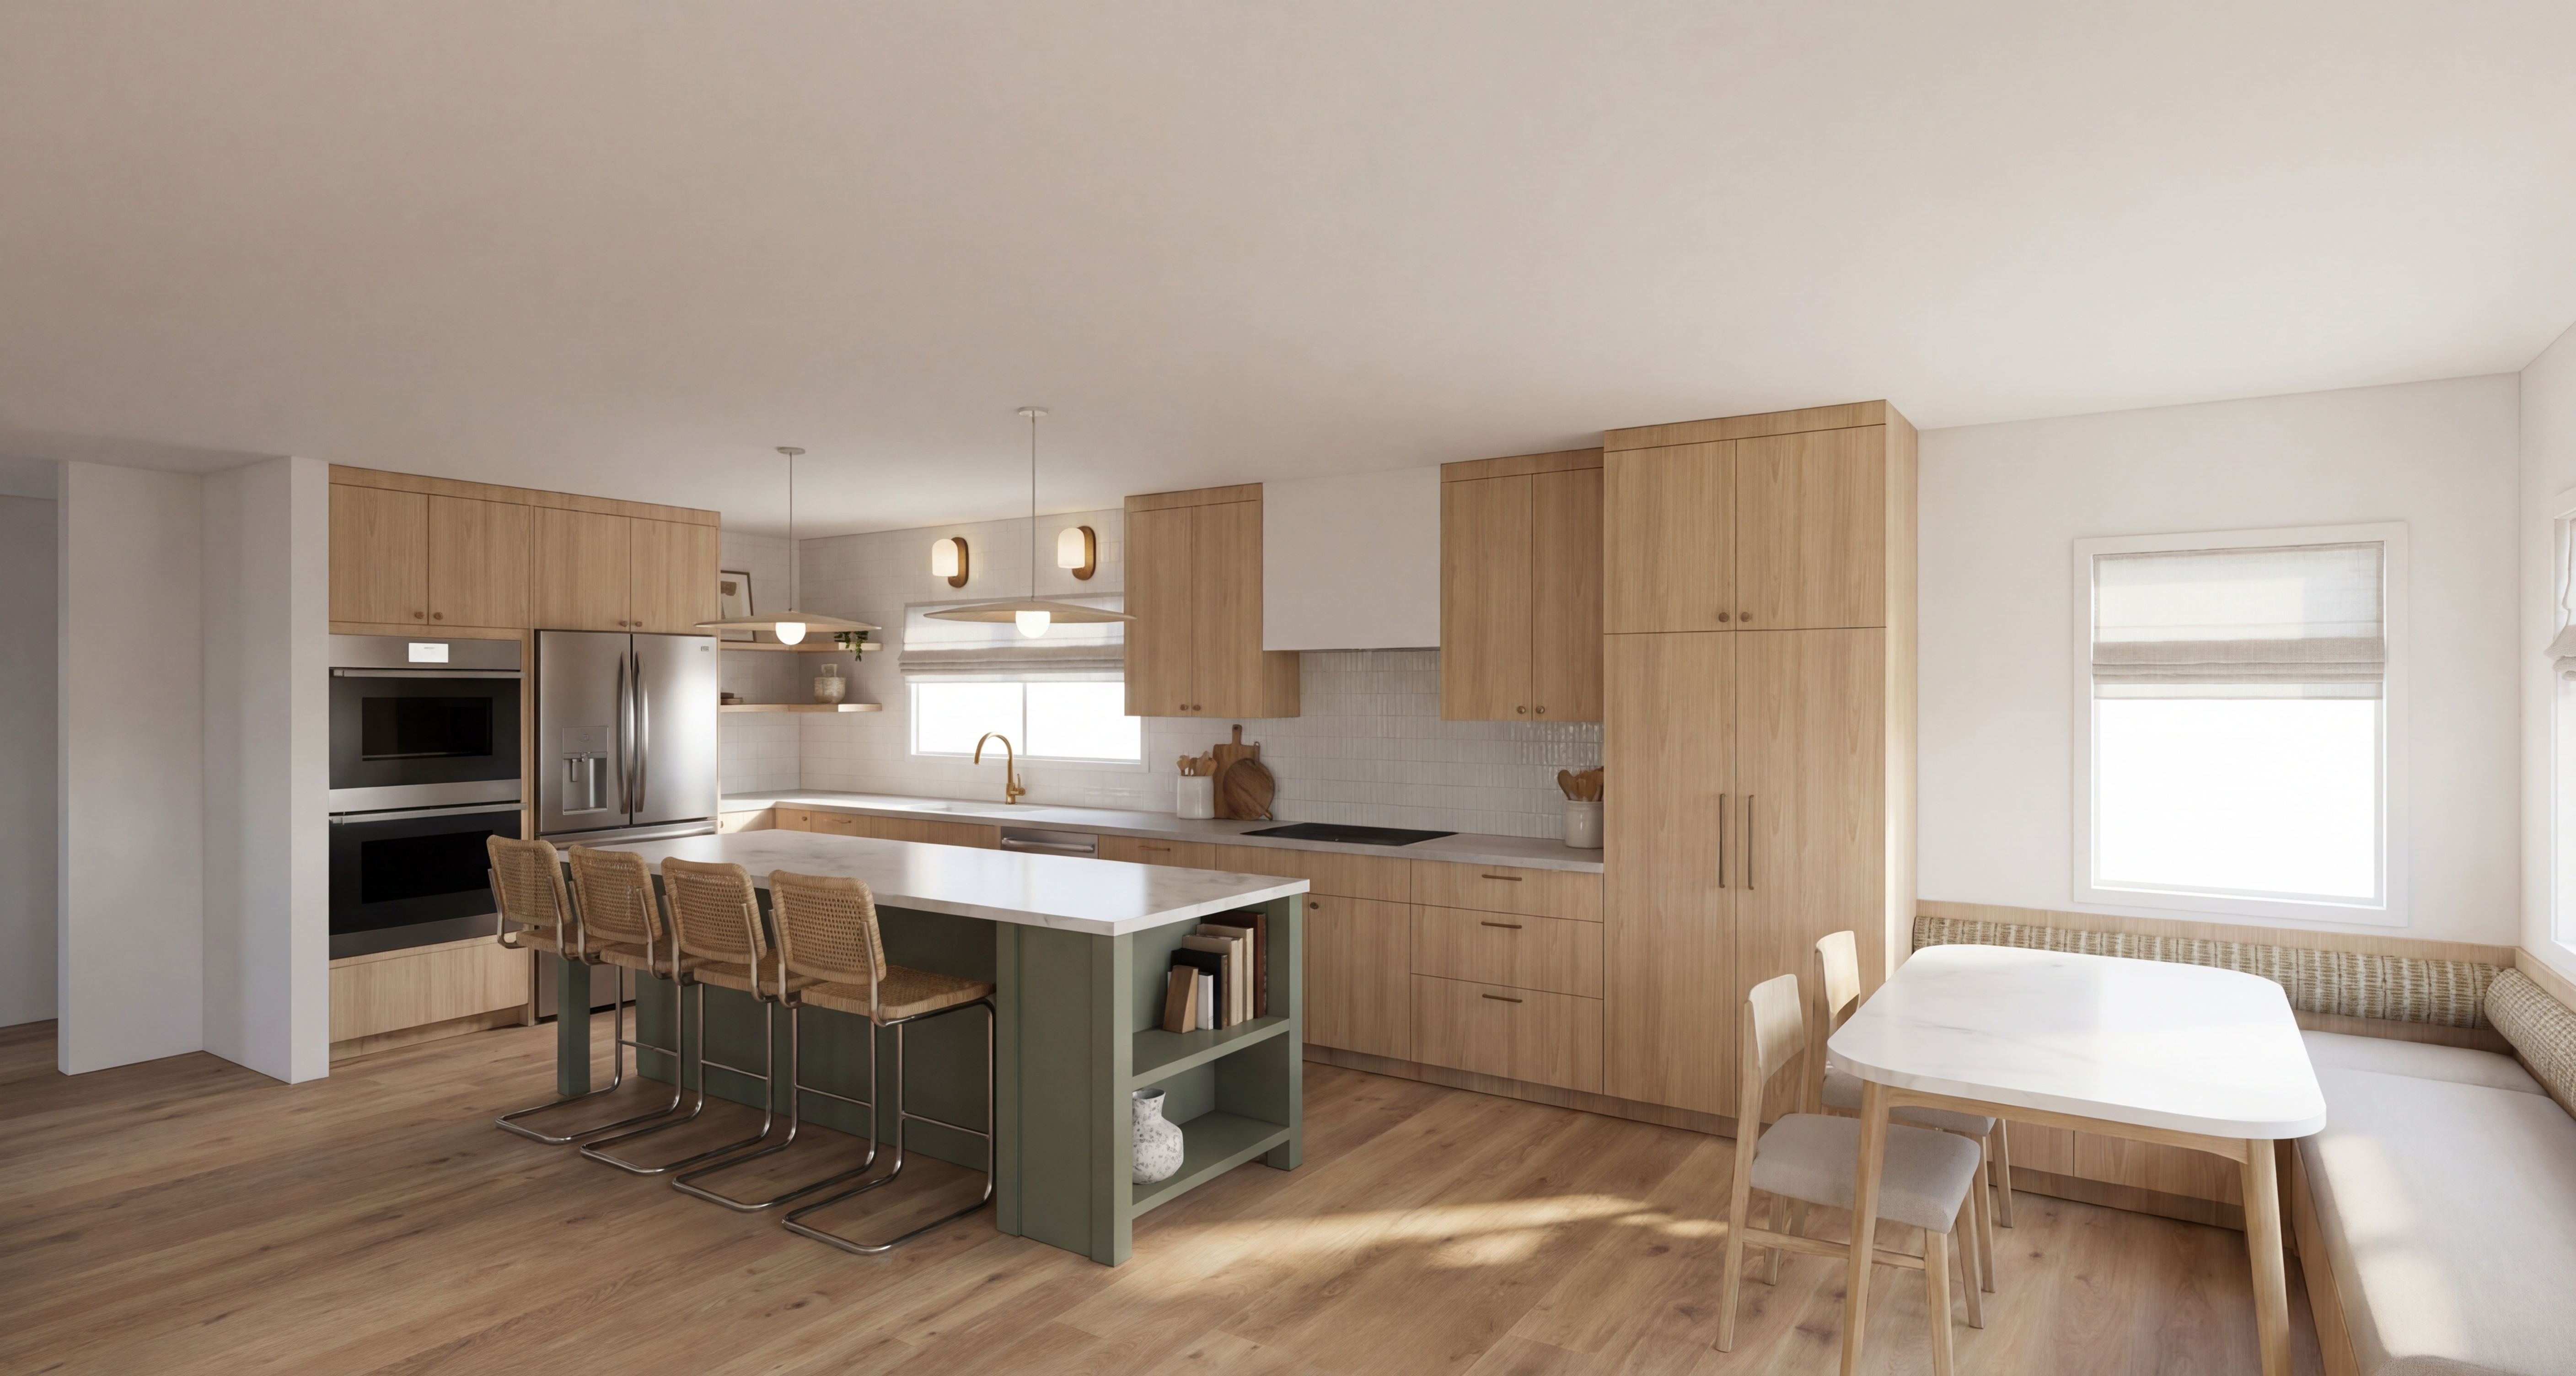
Hit Generate and get your photorealistic image in 30–60 seconds. Iterate from there.
Quality tiers
Natural
10–15 credits
Powered by Google
Faithful
3–4 credits
Powered by OpenAI
Draft
4–4 credits
Powered by Google
Tips for best results
Use reference images for materials
A photo of the exact marble or wood finish you want beats any text description. Close-up material shots work best.
Describe what to change, not the whole scene
"Replace the flooring with warm oak herringbone" works better than describing the entire room from scratch.
Iterate on a good result
Got 80% of what you want? Use that output as your next input and refine from there – don't start over.
One change per iteration
Asking for "new flooring, different wall color, and add plants" in one go gives worse results than doing each separately.